Waking up to find a sopping wet chicken coop is every poultry owner’s nightmare. Whether it was a sudden downpour or a leaky waterer, a wet coop is not only uncomfortable for your feathered friends, but it can also lead to serious health issues. Don’t fret, though – drying out a wet chicken coop may seem like a daunting task, but with the right tips and tricks, you’ll have your coop warm and cozy in no time.
Table of Contents
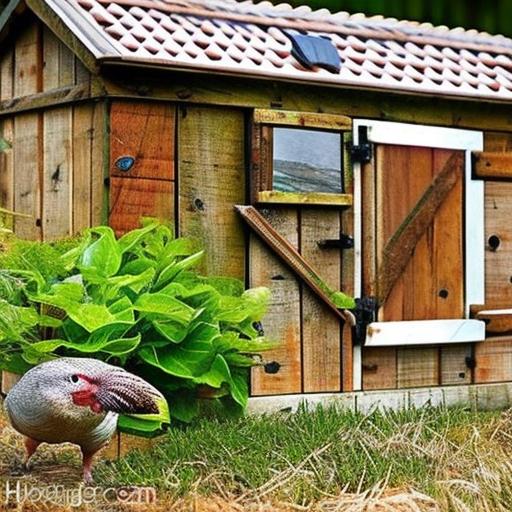
Assessing the Water Damage in Your Chicken Coop
When , it’s crucial to act quickly to prevent further issues and ensure the health and safety of your flock. One of the key steps in drying out a wet chicken coop is to remove any wet bedding and droppings to prevent mold and bacteria growth. To effectively dry out your chicken coop, follow these tips:
- Open windows and doors to promote air circulation.
- Use a dehumidifier to help remove excess moisture from the air.
- Spread out clean, dry bedding to absorb any remaining moisture.
- consider using fans to help speed up the drying process.
To further assess the water damage in your chicken coop, check for any leaks or areas where water may be seeping in. Inspect the roof, walls, and flooring for any signs of damage that may need to be repaired. By addressing the water damage promptly and thoroughly drying out the coop, you can ensure a healthy environment for your chickens.**
Strategies for Removing Excess Moisture and Drying Out the Structure
One effective strategy for removing excess moisture from a wet chicken coop is to improve ventilation.By increasing airflow within the coop, you can definitely help moisture evaporate more quickly, preventing mold and mildew growth. Consider adding additional windows or vents to encourage better air circulation.
Another method for drying out a soggy chicken coop is to use absorbent materials such as straw or wood shavings on the floor. These materials can help soak up excess moisture and keep the coop drier for longer periods. Additionally, regularly cleaning out soiled bedding can prevent the buildup of moisture and odor. Remember to also check for any leaks in the roof or walls that may be contributing to the dampness in the coop. By implementing these strategies, you can ensure a dry and healthy environment for your feathered friends.
| Tip 1 | Tip 2 |
|---|---|
| Improve ventilation | Use absorbent materials |
| Add windows or vents | Consider straw or wood shavings |
| Prevent mold and mildew growth | Clean out soiled bedding regularly |
Preventing Mold and Mildew Growth in a Wet Chicken Coop
One of the biggest challenges for chicken owners is dealing with a wet chicken coop,as it can create the perfect environment for mold and mildew growth. To prevent this issue, it’s essential to take steps to dry out the coop as quickly and efficiently as possible.
One effective method is to increase ventilation in the coop by opening windows and doors to allow for better airflow. Additionally,removing any wet bedding and replacing it with fresh,dry bedding can help soak up excess moisture. lastly, using a dehumidifier or fans can also help to dry out the coop faster. By taking these proactive measures, you can prevent mold and mildew growth in your chicken coop and keep your feathered friends healthy and happy.
Maintaining Proper Ventilation and Airflow for Faster drying
One important aspect to consider when trying to dry out a wet chicken coop is ensuring proper ventilation and airflow. Without adequate airflow, moisture can stay trapped inside the coop, prolonging the drying process.To speed up the drying time, make sure to implement the following tips:
- Install vents or windows in the coop to allow for air circulation.
- Use fans to help move air around and expedite the drying process.
- Keep doors open during the day to let in fresh air and sunlight.
Additionally, checking humidity levels inside the coop can definitely help monitor progress and ensure that the environment is getting dryer. By maintaining proper ventilation and airflow, you can create an optimal drying environment for your chicken coop.
| Tip | Details |
|---|---|
| Install vents or windows | Allow for air circulation |
| Use fans | Help move air around |
| Keep doors open | Let in fresh air and sunlight |
Q&A
Q: Why is it critically important to dry out a wet chicken coop?
A: Wet chicken coops can harbor bacteria, mold, and parasites that can harm your flock’s health.
Q: How can I tell if my chicken coop is too wet?
A: Look for damp bedding,musty odors,mold growth,and wet feathers on your chickens.
Q: What steps can I take to dry out a wet chicken coop?
A: Remove wet bedding, increase ventilation, use absorbent materials like straw or wood shavings, and ensure proper drainage.
Q: How long does it take to dry out a wet chicken coop?
A: The drying time can vary depending on the extent of the moisture, but it typically takes a few days to a week.
Q: Are there any quick fixes for a wet chicken coop?
A: While there are temporary solutions like adding more bedding or using fans, addressing the root cause of the moisture is essential for long-term dryness.
Q: How can I prevent my chicken coop from getting wet in the future?
A: Regularly inspecting for leaks, maintaining proper ventilation, and keeping bedding dry can definitely help prevent moisture buildup in the coop.
Future Outlook
maintaining a dry chicken coop is essential for the health and well-being of your feathered friends.By following the tips and techniques outlined in this article, you can ensure that your coop stays dry and odor-free, providing a pleasant environment for your chickens to thrive in. Remember,prevention is key when it comes to moisture control in your coop. With a little time and effort, you can keep your chickens happy and healthy for years to come.Happy coop drying!
Meet Walter, the feathered-friend fanatic of Florida! Nestled in the sunshine state, Walter struts through life with his feathered companions, clucking his way to happiness. With a coop that’s fancier than a five-star hotel, he’s the Don Juan of the chicken world. When he’s not teaching his hens to do the cha-cha, you’ll find him in a heated debate with his prized rooster, Sir Clucks-a-Lot. Walter’s poultry passion is no yolk; he’s the sunny-side-up guy you never knew you needed in your flock of friends!
Related posts:
 5 Foolproof Ways to Banish Flies from Your Chicken Coop – Guaranteed!
 Discover the Ultimate Solution: Using Bleach to Eliminate Mites in Your Chicken Coop
 Top Tips for Thoroughly Cleaning and Disinfecting Your Chicken Coop: A Step-by-Step Guide
Upgrade Your Chicken Coop with the Best Bedding Options: What to Put on the Bottom of Your Chicken Coop
Top Tips for Thoroughly Cleaning and Disinfecting Your Chicken Coop: A Step-by-Step Guide
Upgrade Your Chicken Coop with the Best Bedding Options: What to Put on the Bottom of Your Chicken Coop